Custom Box Inserts for Product Fit & Presentation
Custom box inserts locate products within a carton, mailer or presentation box. Their job may include separation, orientation, presentation or protection, depending on the design. Begin with the actual products and the outer box dimensions. Material selection, cutouts and support points should be evaluated together; a close-looking fit is not proof of shipping performance.
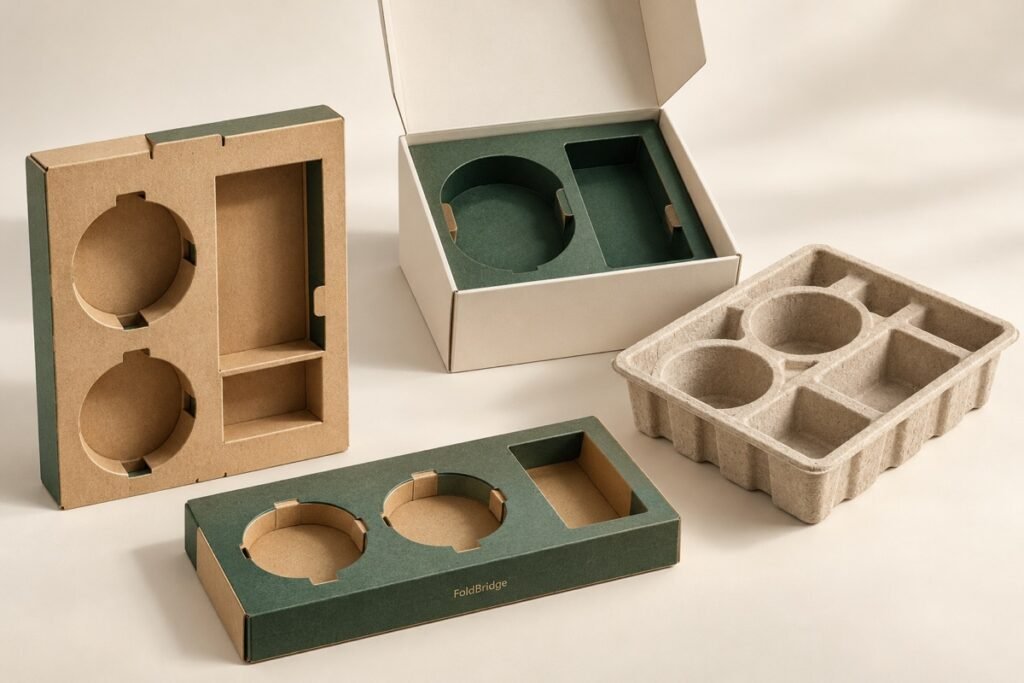
See the packaging in context
Explore presentation, component relationships and material direction. Confirm production specifications through project-specific samples.
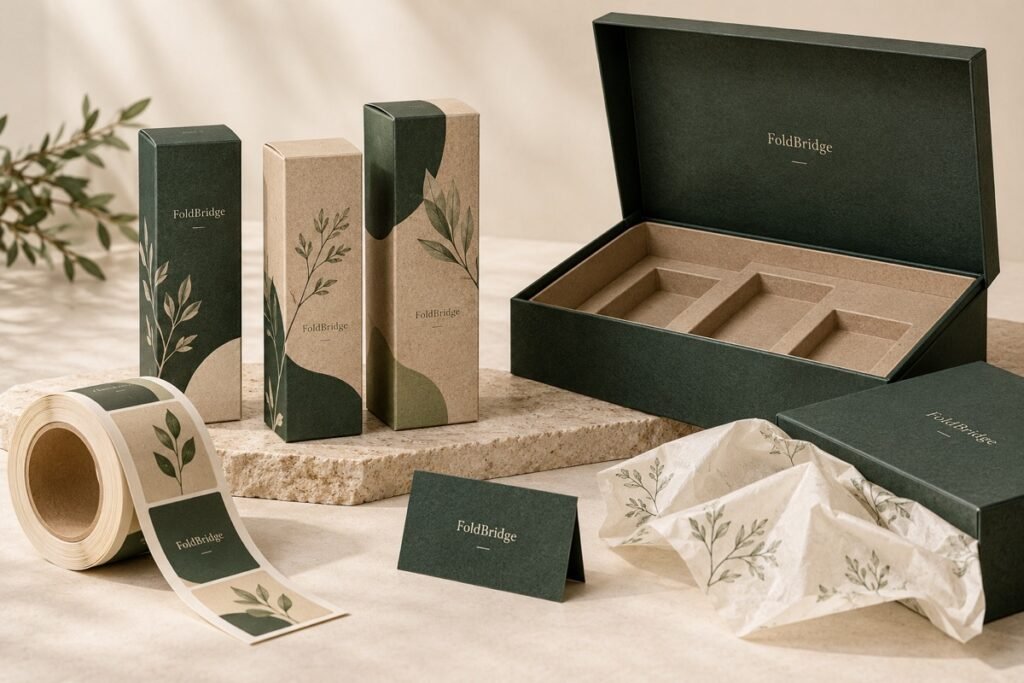
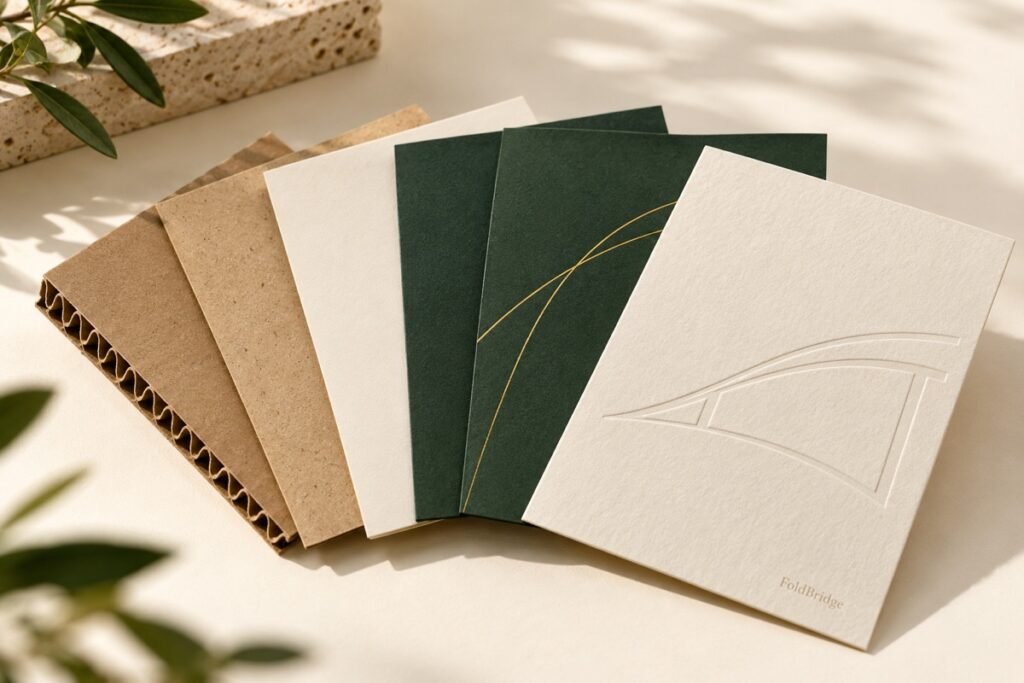
Match the insert route to the question it must solve
Swipe across the table to compare all details.
| Option | When to consider it | What to check |
|---|---|---|
| Folded paperboard | A cut-and-fold structure can create product positions and a printable presentation surface. | Review assembly, product contact, cutout fit and removal access. |
| Corrugated support | Partitions or shaped supports can organize items within a pack. | Evaluate geometry, filled weight and the complete box configuration. |
| Molded pulp route | A formed structure may be considered for shaped cavities or a particular presentation. | Confirm feasibility, tooling, texture, tolerances and quantity with the proposed supplier. |
| Other materials | A project may call for an alternative contact surface or structure. | Ask for a documented proposal; do not assume a material is available, recyclable or appropriate without review. |
A useful insert brief describes contact and movement
Supply the product dimensions, filled weight and orientation, including caps or other projecting parts. Identify fragile areas and surfaces that must not be scratched. If the actual product is not available, state that limitation so the sample is not mistaken for a verified fit.
Record the dimensions and revision of the outer box. The insert must work inside that box while leaving access to lift out the product. For a set, label each cavity by SKU and show how products should face when the package is opened. Avoid approving an insert against an obsolete box drawing.
Use the sample review to check placement, assembly, movement, contact marks and removal. A hand-built fit model may answer shape questions while leaving production materials or transport behavior unresolved. Record those open questions separately instead of using a single unrestricted approval.
What we will work through.
| Inputs | Actual product samples or reliable dimensioned drawings, weight and fragile areas. |
|---|---|
| Tolerances | Allow for product and packaging variation. A fit that is too tight can complicate assembly or damage the product. |
| Formats | Folded, die-cut or molded options are assessed case by case; molded designs can require dedicated tooling. |
| Removal | Provide finger access or another practical release method without compromising support. |
| Validation | Test inside the intended outer box with the actual product. Confirm sample approval before bulk production. |
Compare the complete quotation
Compare material, geometry, tooling, assembly and quantity on the same basis. A molded route and a folded route may have different setup requirements, so ask for those costs separately. Include any outer box changes caused by the insert in the comparison. Treat protection claims as a question for the agreed evaluation, not as an automatic benefit of a thicker material.
Questions before you commit
What measurements do you need for a fitted insert?
Provide each product's maximum dimensions, weight, orientation and relevant projections, plus the outer box's usable dimensions. Note fragile surfaces and how the product should be removed. Mark approximate measurements clearly; final fit approval should use representative products.
Can an insert replace protective shipping materials?
Only if the full packaging configuration has been evaluated for that purpose. An insert designed mainly for presentation may still need other protection. Define the distribution conditions and acceptance criteria before deciding which additional materials can be removed.
Should a box insert be sized from a drawing or the actual product?
Use current product measurements and, where possible, the actual finished product. Drawings should identify units and any manufacturing variation that matters to fit. Check the insert inside the intended box with the product before approving both parts as a matched arrangement.
How much space should an insert leave for removing the product?
Removal space depends on product shape, weight, grip points and the opening sequence. Identify where the customer can place fingers and which surfaces should avoid pressure. A fitted sample is the practical way to review access; there is no universal clearance for every product.
Can one insert hold several different skincare products?
It may be possible with a planned arrangement, but each product needs its own fit and removal check. List every SKU, orientation and accessory, and distinguish single-product orders from gift sets. Approve the complete combination rather than checking only the largest item.
When should an insert be sampled again?
Review the need for another sample when the product, cavity, material, board thickness, box dimensions or packing sequence changes. Record the affected revision and the checks that must be repeated. A previous approval remains useful only for the configuration it actually covered.
Make the next decision with a clear brief
Share the product, quantity per SKU, destination and the questions still open. Specifications, costs and timing are confirmed after project review.