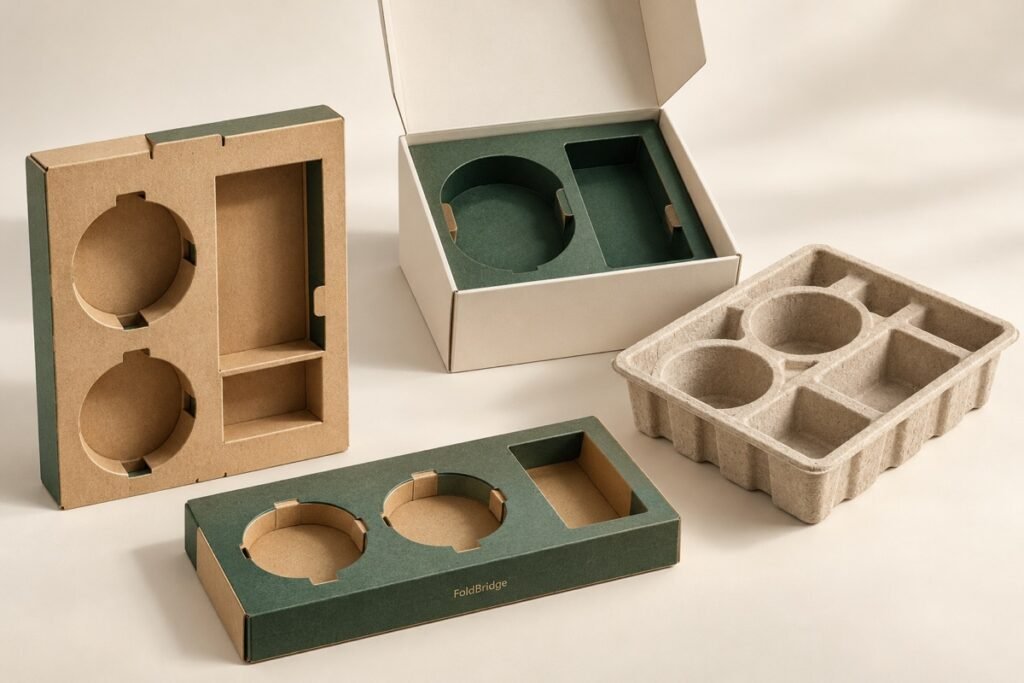
Which dimensions does a box insert need?
Box insert dimensions connect four things: the product’s maximum outer profile, the cavity or retaining features, the insert’s outer size and the box’s usable internal space. Specify them separately, with a drawing revision and units. Validate the assembled fit using representative products; there is no universal clearance that suits every material and product.
This guide helps brands prepare an insert brief for bottles, jars and multi-product sets. Start with the intended arrangement and the role of the custom box insert: display, positioning, separation or a defined combination. A neat presentation does not by itself demonstrate transport protection.
Keep four measurement records separate
| Record | What to identify | Common misunderstanding |
|---|---|---|
| Product envelope | Maximum profile, filled weight, cap, label and any protrusions | Using only the bottle body’s nominal diameter |
| Retaining geometry | Where support/contact is allowed and how the product enters | Making the cutout a copy of the product’s front view |
| Insert exterior | Assembled outer dimensions, folds, supports and orientation | Confusing the flat blank with the erected insert |
| Box interior | Usable space in the assembled box, including closure intrusions | Designing to the box’s outside dimensions |
Mark length, width and height on a sketch rather than relying on an unexplained number sequence. For an irregular container, include the drawing or a physical sample and identify the surfaces that must remain free of contact. A photo is useful for orientation, but it does not establish a dimensional tolerance.
Show the dimensional chain before assigning a clearance
For a simple row layout, you can describe the planning relationship as: required internal width = left support zone + space assigned to product A + separator zone + space assigned to product B + right support zone. Those zones are design inputs to confirm, not standard allowances.
As an illustrative arithmetic example only, zones of 8 mm, 40 mm, 10 mm, 40 mm and 8 mm total 106 mm. This does not specify the cutout sizes, cushioning or a safe box width for a real pack. It simply makes each contributor visible so the designer can check the arrangement against the product, material and box.
Do not reduce every zone to zero to minimize the carton. Ask how the insert will be assembled and loaded, which parts carry the product and where fingers need access. For a set, show the sequence in which components will be packed and removed. Link these decisions to the current box and product revisions.
Choose a material route before freezing the cutout
A folded paperboard insert and a formed tray are different constructions. Ask the proposed supplier to explain the retaining features and the dimensions it needs to control. A drawing intended for one route should not be treated as an approved production file for another.
Even within paperboard, material information needs more than a generic weight. Holmen’s technical reference distinguishes caliper from grammage. Record the proposed board and construction so a material substitution can be reviewed together with the fit.
For skincare packaging sets, provide representative finished containers, including labels and closures. State whether a decorative sleeve, leaflet or other accessory also occupies the space. Do not assume that one bottle cavity will hold every SKU in a range merely because the products share a visual design.
Review fit and shipping performance as different questions
Begin with a controlled assembly check: can the product be inserted, held in the intended position and removed without unacceptable marking? Check the lid and any supports with the complete pack assembled. Record the observed movement and the agreed acceptable result instead of writing only “fits well.”
Shipping validation needs the intended product-package combination and distribution conditions. ISTA’s design and testing guidance emphasizes understanding the distribution environment and setting product-damage and package-degradation criteria before testing. Discuss the appropriate evaluation with a qualified test provider when transport performance is part of the requirement.
ISTA describes different purposes across its test procedures. Do not label a casual handling check “ISTA certified,” or treat an empty insert sample as proof for a filled parcel. Identify the product, insert, retail box and outer shipping arrangement covered by any actual report.
A copyable insert fit worksheet
- Product identity: SKU, drawing/sample revision, measured maximum profile, filled weight.
- Orientation: which face is displayed; upright/laid-flat arrangement; opening direction.
- Contact: allowed support areas, cosmetic surfaces to protect, cap/pump access restrictions.
- Box: assembled usable internal dimensions, closure features and drawing revision.
- Insert proposal: material, construction, outer size, retaining features and revision.
- Loading: assembly sequence, product insertion and removal observations.
- Validation: fit criteria, transport requirements, responsible reviewer and unresolved actions.
Keep a marked drawing with the worksheet and use the sample approval guide for the wider approval record. If any container, insert or box changes, explicitly decide which checks must be repeated. A previous approval should identify its scope rather than becoming permission for every later variation.
Frequently asked questions
How much clearance should I add to a box insert?
There is no single clearance to add to every product. The retaining design, material, actual product variation and loading method all need review. Ask the supplier to identify its proposed dimensions and tolerances, then validate them with representative products and an agreed sample rather than applying an unexplained fixed allowance.
Should I send the box’s inside or outside dimensions?
Identify both when available and label them clearly. The insert must be reviewed against the assembled box’s usable interior, including closure or support features that occupy space. Send the box drawing revision or a sample so the supplier can confirm which dimensions govern the proposal before tooling is approved.
Can a well-fitting insert guarantee that glass will not break?
No. A fit check answers specific assembly and positioning questions. Transport performance concerns the complete packed product and the hazards of its intended route. Define those requirements separately and agree suitable validation. Neither this worksheet nor a visual sample establishes a damage-free shipping guarantee for glass containers.
Sources and application notes
References reviewed October 15, 2026: Holmen paperboard technical information and ISTA design/testing and procedure guidance, linked above. The dimension worksheet and arithmetic example are FoldBridge editorial planning tools, not validated engineering dimensions. Material choice, tooling, testing scope and costs require confirmation for the project; no transport certification or laboratory service is implied.
Share this guide